Updating QCon Pro X To iMap V2.20 (Firmware V1.18) - New DAW Selection Mode

A step by step guide
Warning if you have firmware pre V1.18: Updating the firmware without fitting a new APP panel to your QCon Pro X will change buttons and functions of the machine and your machine may not operate as intended.
Preamble
Following this guide will vastly reduce the possibility of firmware upgrade failures.
If you are running firmware v1.18 or before, it is now time to upgrade to new firmware v2.20. Any QCon ProX units that shipped with Firmware v1.18 or later installed already shipped with an upgraded APP Panel and new overlays. For those units, users can just upgrade their firmware normally as new releases are published.
This new version of the firmware will;
· change how DAW’s are selected,
· change the button configuration of your QCon Pro X (except for Pro Tools)
and
· as a result we suggest that you prepare by ordering or printing updated overlays as your previous overlays are unlikely to match these new mappings.
·
If firmware is updated before an APP panel is fitted, your QCon may not function as intended.
It is therefore, extremely important that the correct steps are taken to ensure a trouble free firmware upgrade.
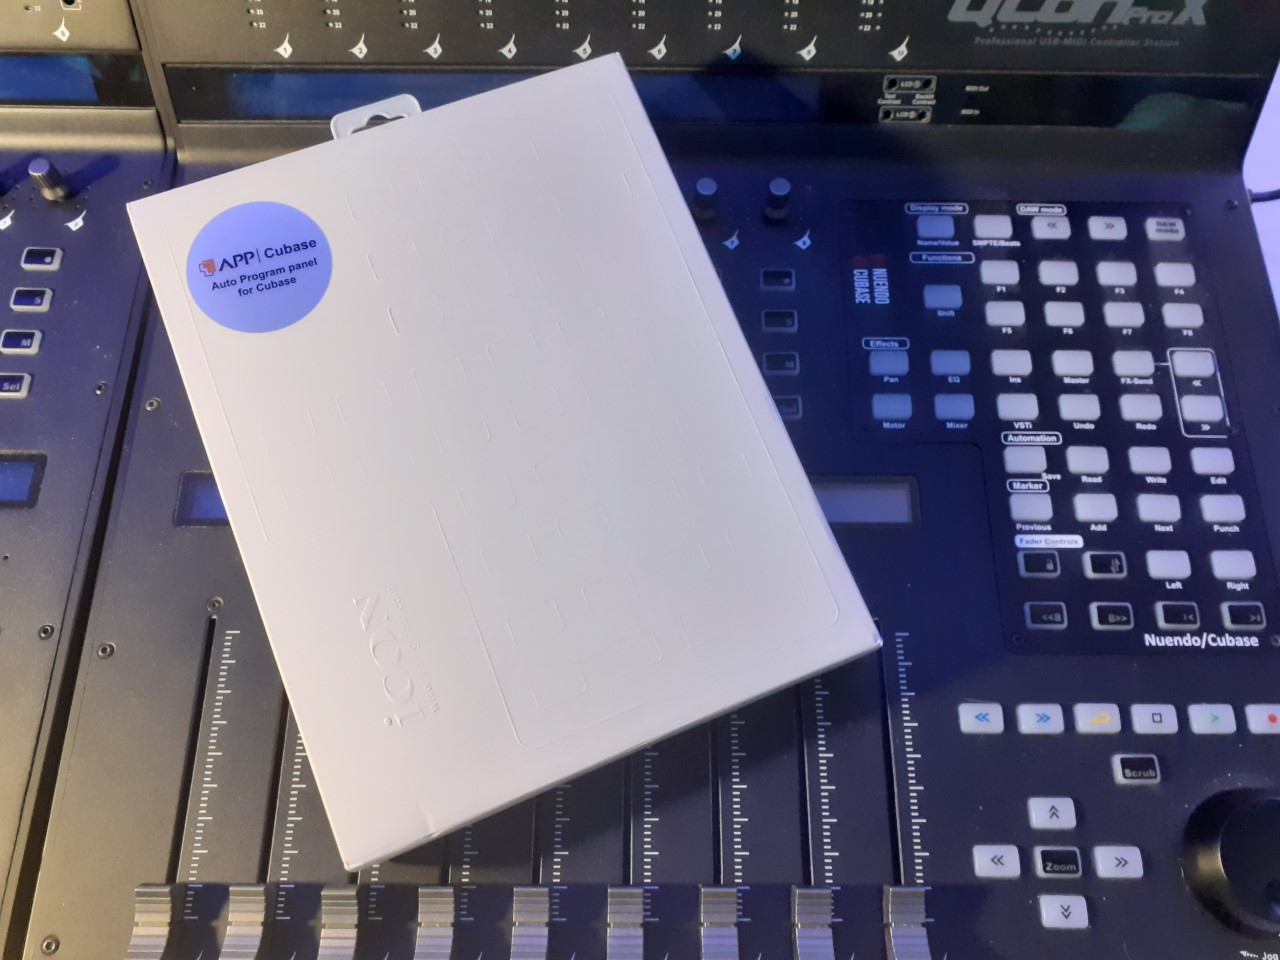
Step One: Order and fit your panel
1. Visit https://iconproaudio.com/shop/qcon-pro-x-auto-program-panel/
2. Select the correct auto-program panel for your preferred Digital Audio Workstation.
3. The auto-program panel and a full set of overlays will be shipped to you directly from our factory in China and are available at a purposefully low cost to the user.
4. Your auto-program panel will be shipped to you once you complete the order.
PLEASE NOTE: It may take up to 4 to 6 weeks for you to receive your shipment.
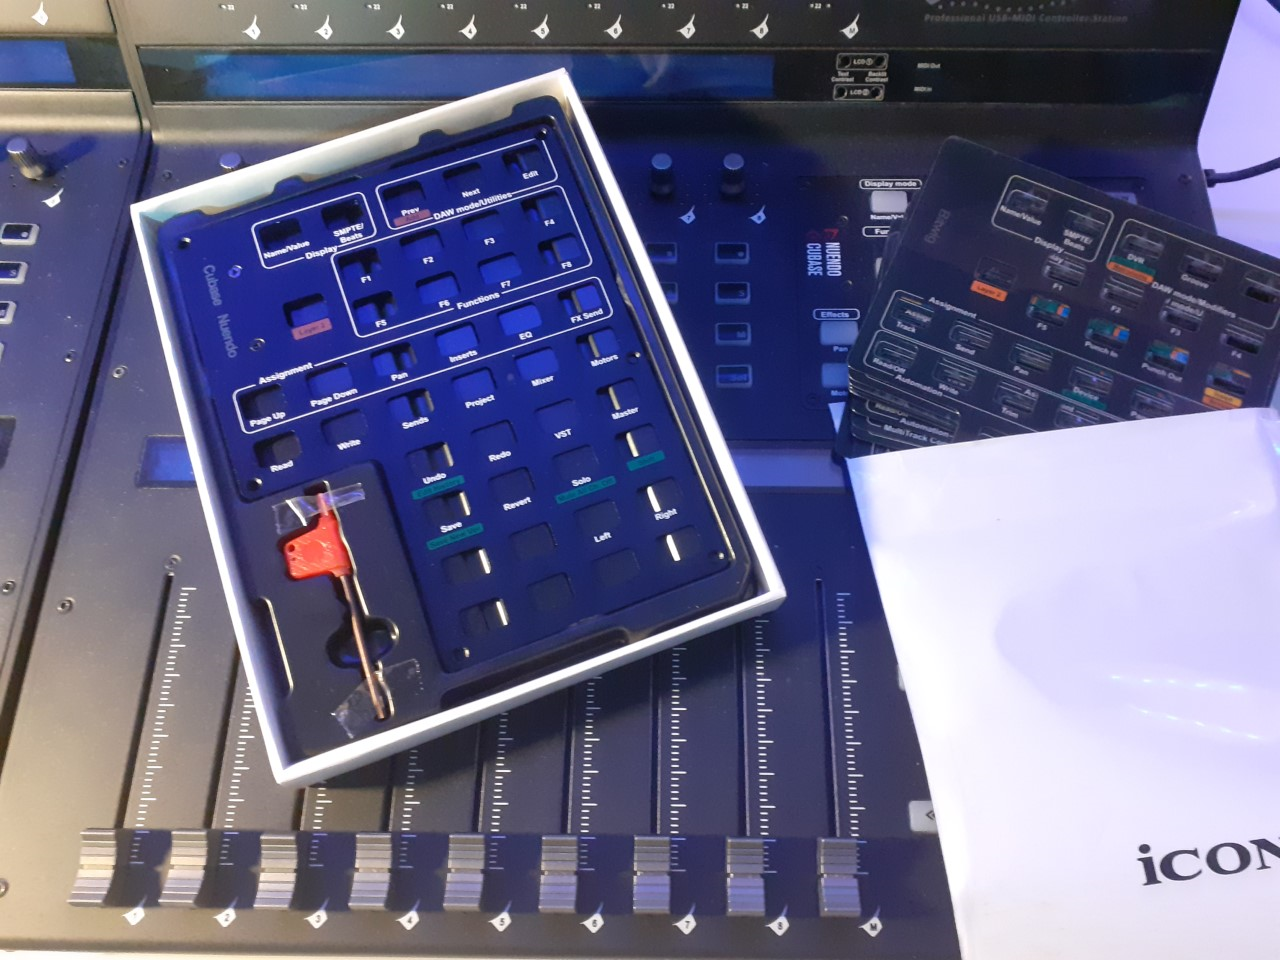
5. Fit the panel as per instructions
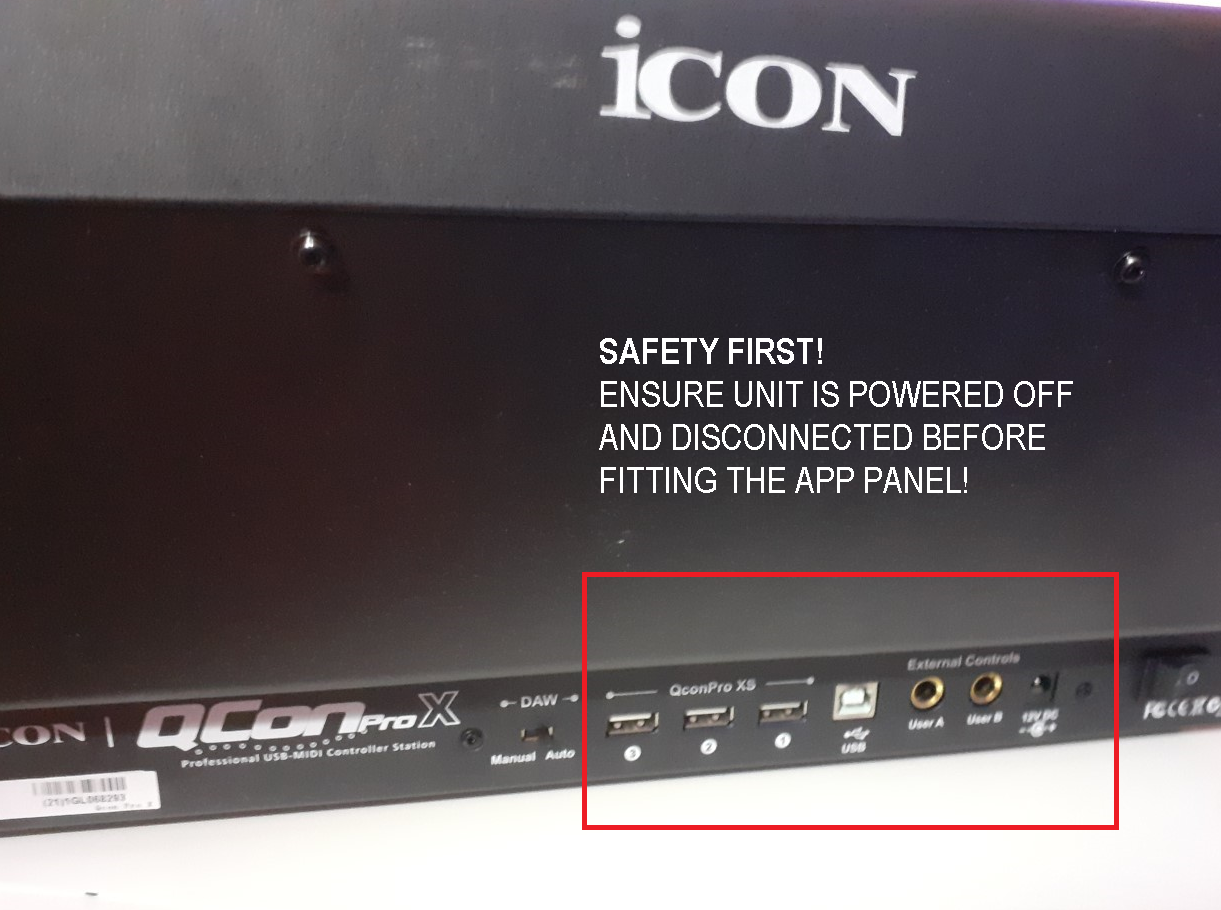
Ensure all power is disconnected from the Qcon Pro X. Safety first!
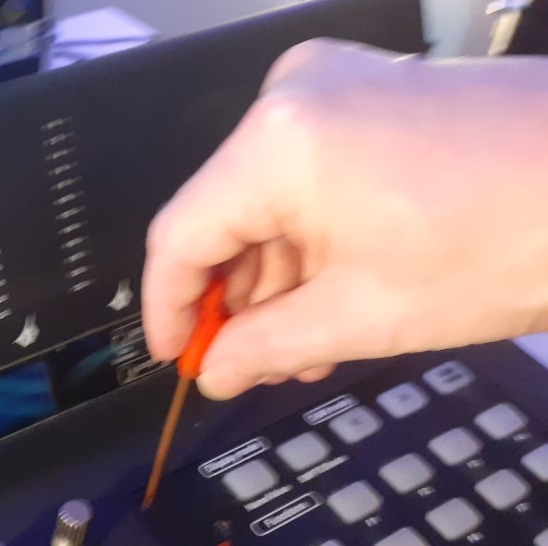
Carefully remove the APP panel with the included tool. Keep the screws safe. Now, fit the new APP panel with the screws you have just removed - ensuring that the screws are re-screwed in evenly and reasonably tightly (i.e. don't put undue pressure on the board or the screws).
Step Two: Uprade the firmware
NOTE: HAVE YOU ORDERED AND FITTED YOUR APP PANEL FOR YOUR CHOSEN DAW? IF NOT, DO NOT PROCEED.
1. Proceed to the Icon Pro Audio Qcon Pro X download page
2. Select the firmware to download; Note: Please make sure iMap V2.20 or above is being used for the firmware upgrade process.
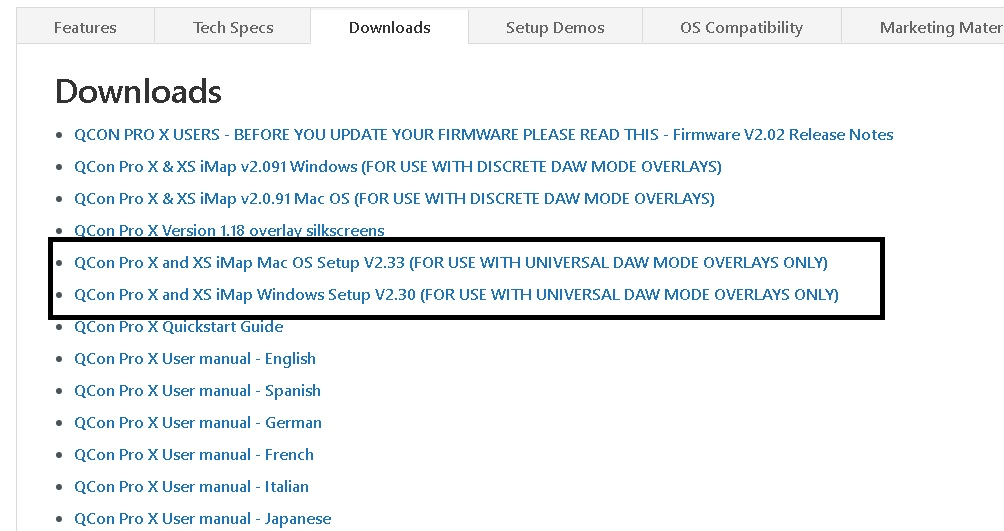
3. Save the file to your computer.
4. Install ‘QCONProX QCONProXs set up wizard’ by clicking ‘Install’.
5. Click ‘finish’
6. Now, make sure your Qcon Pro X is turned on (and not the extenders if you have these). Ensure it is linked directly to your PC/laptop - do NOT use a USB hub.
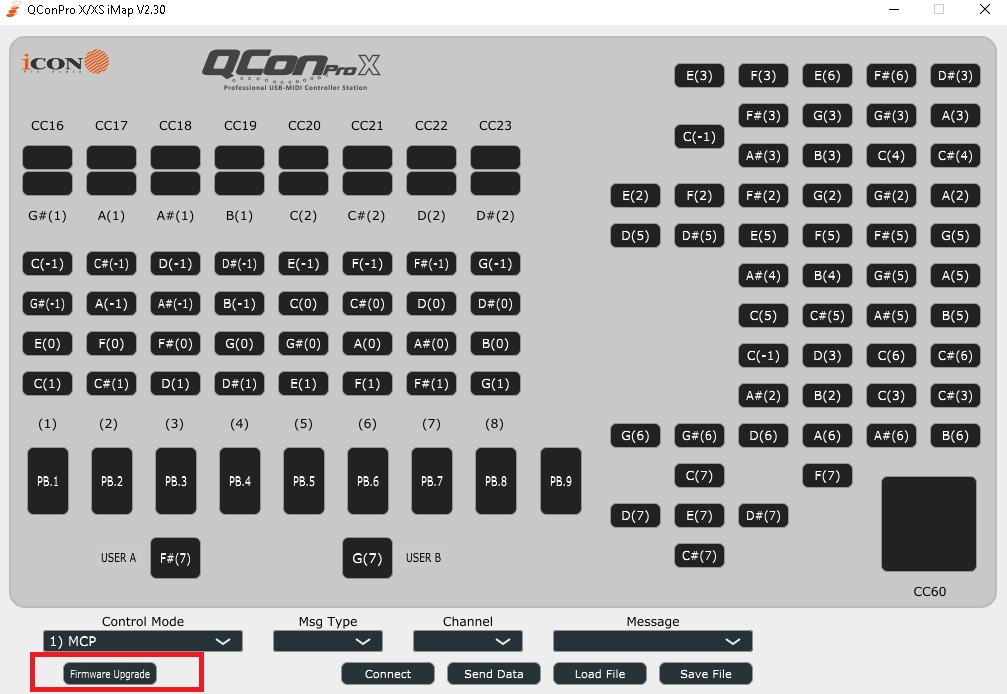
7. Now, it’s time to open up iMap (which you have just installed) and install the firmware. Click on the bottom left of the iMAP software where it says ‘Firmware Upgrade’. Ensure the warnings (i.e. ‘connect ONLY the device you wish to upgrade’) are observed. When you wish to proceed, click ‘OK’.
You will now go through a five step process -
it's extremely important to read the notes below as you do this.
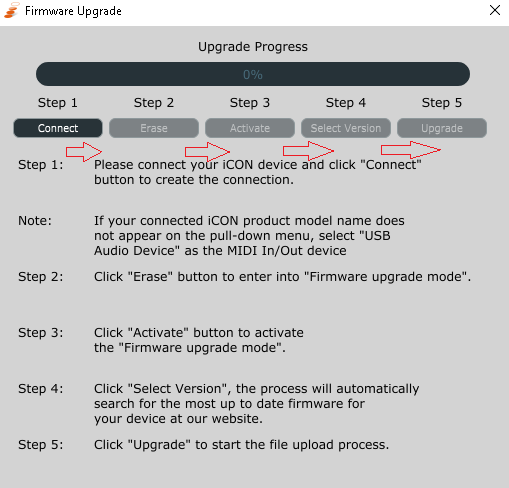
8. Click ‘connect’ and select the QCon device, (remember only the device that you wish to upgrade should be connected. Click ’erase’. Your existing firmware is now erased.
9. Click ‘Activate’ and select the Qcon device. It should appear as version 1.00 - do not be concerned by this, as this is the ‘base’ version of the firmware.
10. Click ‘Select version’ - this should then search for the latest firmware on the website automatically. Select the latest version of the firmware. DO NOT power off during this process.
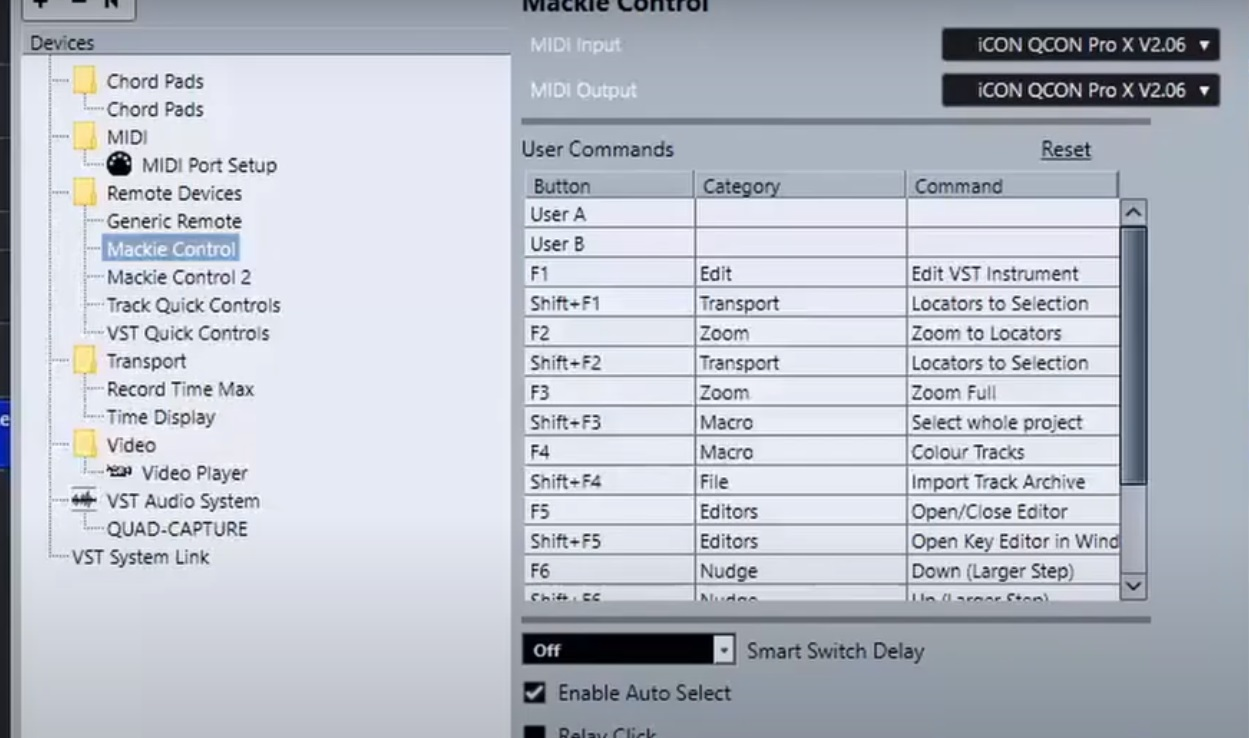
11. When the process is completed, power down your Pro X and turn on. Go to your DAW settings (i.e. Studio set up - Mackie Control devices - in Cubase) to select the Pro X
12. Repeat these steps to update the firmware for your Xs units, ensuring that units you are not updating are disconnected and again connecting directly to the computer, not a USB hub.
When powering up, you will now have 4 options;
MCP Mode– (Mackie Control Protocol) – Used for all DAWs except Logic and Pro Tools
Logic Mode – Only used to control Logic
HUI Mode – Only used to control Pro Tools
User Defined Mode – Used to create custom control maps (does not currently work with Pro Tools)
Select the DAW you wish to use and happy recording!
TIPS and Notes
Make sure you are not using a USB hub for any of the devices you are updating. Connect ONLY the devices you are updating i.e. Pro X and NO extenders and then 1 x extender and NO Pro X. Ensure your internet connection is strong. Go SLOWLY and following each point.
Cubase users:
If notes musical notes are triggered by button or fader use, go to Studio Setup, click MIDI port set up, uncheck the box ‘In All Midi’ in the new QCON Pro X or XS row. Click OK. For users of other DAWs, go to All MIDI in settings in your settings and de-select. This should solve the problem.
A good video to guide you further:
Qcon Pro X front panel install and firmware upgrade - YouTube
Comments
0 comments
Article is closed for comments.